Here are some pictures from Halloween night! Had a fun night with friends and family and the thirty or so trick or treaters we got! Kinda bummed about the turn out, but we were definitely the hit of the neighborhood! Had a fun time making everything and having the Fiance help with the arts and crafts was a fun treat! Here is to next year! I'll post some more on each of some of the props I got finished this year and I'm already looking forward to doing it again! =)
Showing posts with label Pirate. Show all posts
Tuesday, November 1, 2011
Thursday, October 20, 2011
Drink up me` hearties, Yo Ho..
Almost done with my Halloween display for this year! Just plowed through the last of the East India Trading company burlap sacks (with help from my awesome other half! :P ) that I may use to hand candy out to exceptionally well dressed ghouls and goblins! :) Still need to stain the Gibbet post and get the Drinking Pirate fountain hooked up, and then start the laborious task of setting up everything outside! Captain Jack and the Prisoner Pirate both talk and their eyes light up. Captain Jack's wheel moves too :) Once I get everything setup and fine tuned outside I'll add some video!
Yo ho, Yo ho!
Yo ho, Yo ho!
Labels:
Pirate
Wednesday, October 12, 2011
Barrel Pirate!
The last major prop of the year is almost done! The last bucky I have is now affixed to a barrel I scored at OSH! The costume is still being shipped (hoping it gets here SOON) and I still need to attach some metal rod to an arm to holdup a bottle! I think I'm going to paint a plastic soda container and plumb the water pump into that and have it splash down his exposed ribs back into the barrel! This will be accompanied by a Pirate's Life for Me playing in the background, but it's the drinking pirate, so instead of singing or humming the song he is chugging the pirates theme.. :)
I also started on some of my filler props.. I bought some burlap sacks and while I wish the stencil I made was a little bigger, I am happy with the results. First time making a stencil and what a time saver!!
All three of them proudly on display in my living room while I hash out last minute details! :) Need to weather proof everything, enclose the Scary Terry servo boards in something water proof and get ready to set everything up outside! Didn't get as much as I wanted done this year, but that's what next year is for! Next to Halloween my favorite day is November 1st because I have an ENTIRE year to plan and build for the following year! Time sure does find a way of slipping away!
Made some smaller sacks too! Depending on how many trick or treaters we get I *may* use them to hand out bags of candy, but for now I am using them as filler props. I bought a large amount of fake coins, so I'm going to fill the sacks up with newspaper and maybe glue the coins to make it look like they are spilling out the side! I have 50 smaller sacks in total. Twenty or so completed as of now.
Labels:
Pirate
Thursday, October 6, 2011
Swingin' on the gallows pole!
Finished my gibbet cage and gallows pole! Still need to paint the cage, and stain the gallows pole! :( Stuff isn't progressing along as much as I'd like, but come Halloween I'm probably going to be the only one that will notice.. Such is life! Been having fun building props, but my budget isn't as carefree as it once was, so I will have to get more creative than normal instead of going down and buying materials it's more of what I have on hand! The gallows pole was one exception because it cost $22 in materials to make! It is a bit too big, but I was building it at my Grandpa's house, so it looked tiny in the driveway!! The pole is 8' tall and the arm is nearly 4' long! I added a base at the bottom that is currently covered by some of the Pirate flags I've collected over the years, but the side braces are a total of 5' long and the front one is 3', so the floor space the pole takes up is massive, but I didn't want a chance of it falling over. After Halloween is over I will probably trim up the prop, so it can *hopefully* take residence along side Captain Sparrow YEAR ROUND! :)
I bought some PVC pipe to make a bunch of candles a la How To Haunt Your House .com and this will keep me tied over for the next few nights.
I also bought some burlap sacks and I'm planning on painting an East India Trading company logo on them for some more maritime flair and filler props. I've yet to paint on burlap, so this should be interesting. I'm leaning towards making a stencil and just using spray paint, but we will see! I'll post whatever method works best for me!
Happy Haunting!
Labels:
Pirate
Thursday, September 15, 2011
It talks!
Got to play around with my cage today and I got the Scary Terry servo by Cowlacious installed and ready to go! It's not a three axis skull that are all the rage today, but they are still very effective! The audio needs to be redone and touched up in Audacity, but that will be a project for another day! Hopefully I can come up with a routine so my Helmsman and Prisoner can talk to each other! The skeleton drinking on the barrel is just going to loop to the Drinking Pirate from the Disneyland Pirates of the Caribbean soundtrack.
I have some Drylok that I use to paint the tombstone, but I think the sandy gritty texture applied to the metal cage and then painted black with a faux rust patina the cage will be complete! Now I just have to determine what I want the gallows pole to look like.. decisions.. decisions.. I want it not to be so large that it over takes the living room, but because the prop is close to 60 lbs it needs to be able to support it! Enjoy the short clip! Hopefully the next update he will be stained, cage painted, and the base to hold said cage will also be finished!
Labels:
Pirate
Wednesday, September 14, 2011
Gibbet Cage
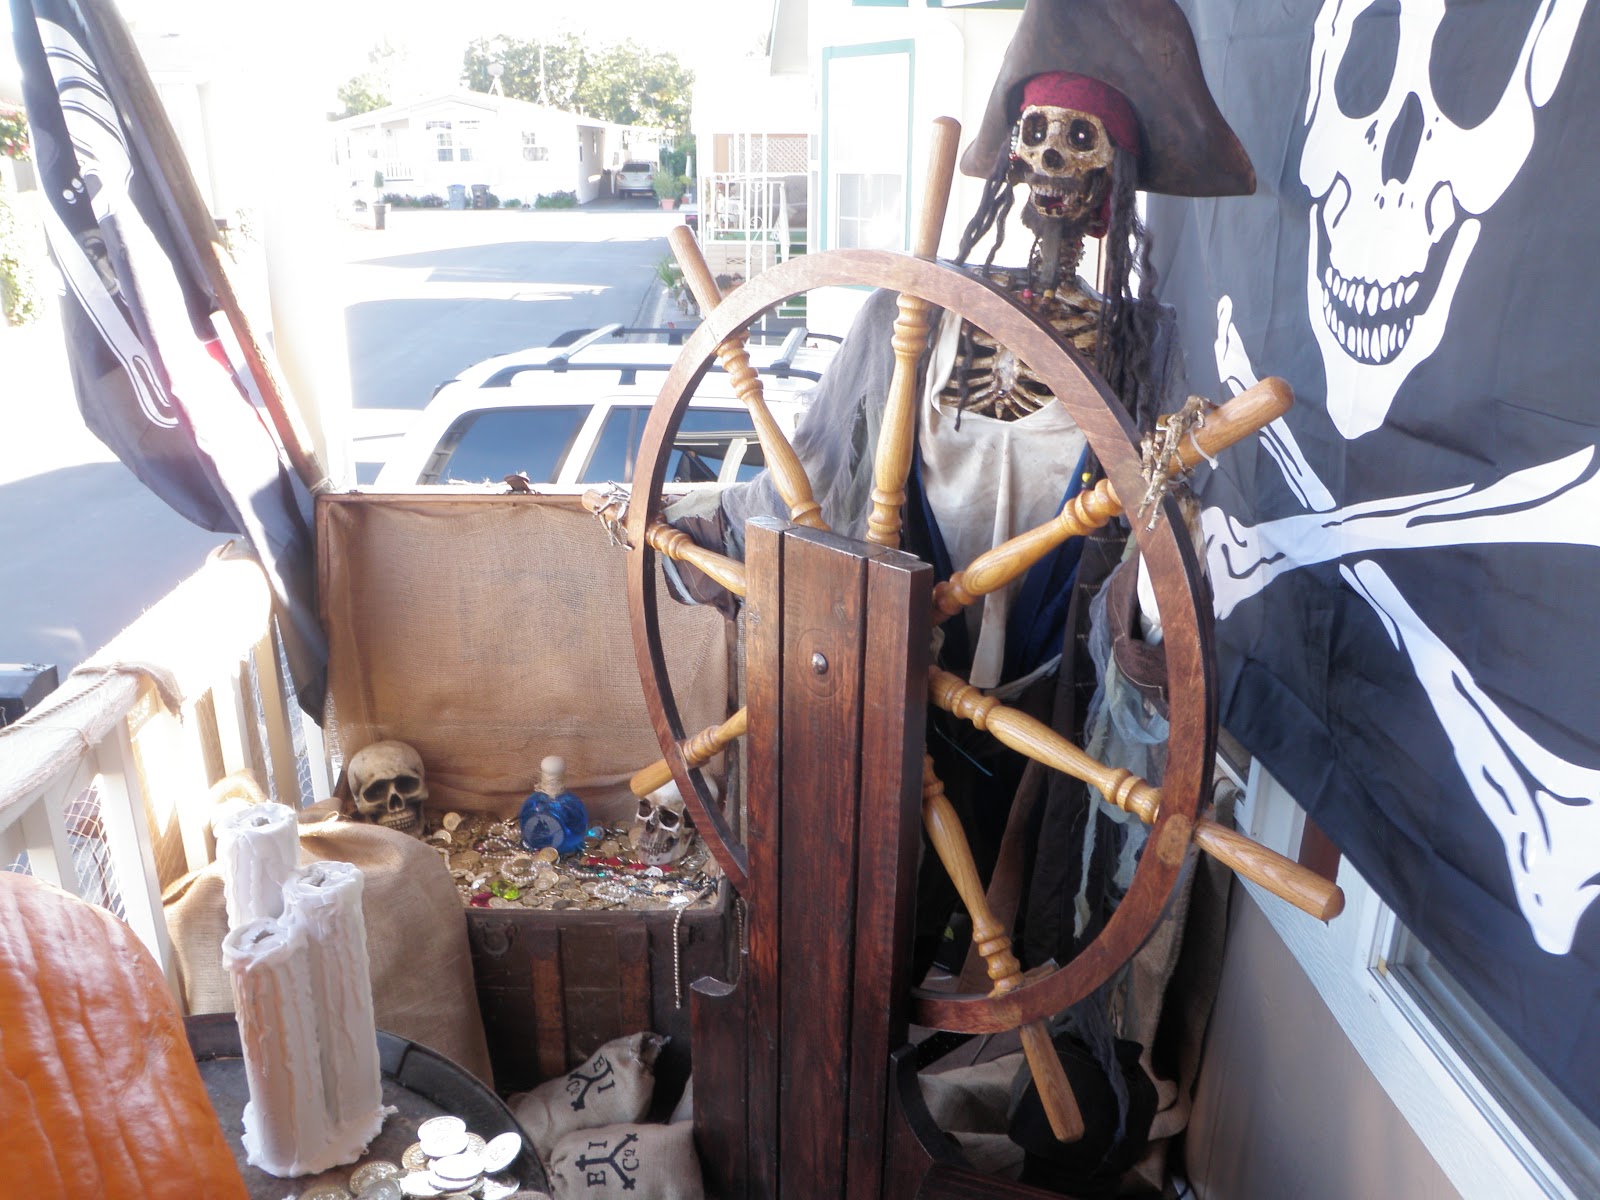
It's unfortunately been a solid month or two with absolutely no prop building, so today to much delight.. I managed to squeeze in a solid seven hours of unadulterated prop building madness. I have an extra Scary Terry servo and I wanted to make another talking skeleton in addition to my Helmsman, so I've been itching to make a Gibbet Cage ever since seeing Pirates of the Caribbean Dead Mans Chest! The scene where they were hauling a prisoner over a bridge lined with gibbet cages and rotting corpses has been stuck in my head for some time. To further inspire me Dave Lowe has a similar build going on for his Decembers Forgotten Prisoner.
After scouring Halloween Forum for a decent tutorial or dimensions I decided to just wing it because most of the cages are built for a standing blucky. I love the look, but making a gallows pole to hang a 6' skeleton would have to be ridiculously big and take up a more space than I have, so I decided to make the skeleton sitting down. I did come across a tutorial where they were using PVC molding to make the strips, but the buckys are pretty heavy, so that was out of the question. I then found a tutorial I had buried away on my computer save for the images, so I was lucky enough to find a working PDF version that can be found HERE! Brian Lorsung originally designed the tutorial for I believe the anatomical chart company and their 33" bargain bucky using chain link tension strips for the metal. I found 6' lengths at my local home depot and I made my cage using the tension bars and some nuts and bolts! The tutorial is worth a read even if you don't stick to the dimensions. Hopefully once I make the crane/gallows pole it will be able to be displayed year round next to my Helmsman!
I still need to paint/age the cage and bucky. I may have him holding a lantern for some much needed ambient lighting. If I can afford some cheap pirate costumes I'll go that route, or maybe I'll buy some striped pirate socks and cut up some rags for rotted clothing. It will be fun scouring through thrift stores for anything that resembles maritime attire.
I still have a ton of work to do for a decent display, but I feel like this is what I needed to get me kick started! I also picked up a full size whiskey barrel and a water pump too! I have one more bucky left and I'm going to make a rum drinking pirate sitting on top of a barrel. If I have enough time I have an extra wiper motor and maybe I can rig up one of his legs to move up and down.. But the majority of both projects should be completed by next week!
Labels:
Pirate
Thursday, July 7, 2011
Treasure Chest and Pirate Swag!
I had some left over wood from a recent project, so I turned this chest out in an afternoon! It is made from plywood and stained with a dark mahogany. The lid is curved and from the outside it looks decent, but the gaps on the inside are shoddy at best, but no one but me is going to notice!
This is bare bones and I wish I would have spent some more time aging the outside or adding strips to mimic metal edging and pop rivets, but I can always set this aside to be "detailed" later :) It's missing some pearls and more rubies, but I'm sure I can pick some up at a garage sale for fairly cheap to give it more depth. It has a false bottom, so it looks fuller than it really is.
Now I have a monumental task of finishing some tombstones for the graveyard AND hopefully starting on working on my CANNONS! I'm thinking of using my Grandpa's lathe to my advantage and making the cannon out of wood as well as the base. I want these babies to last almost as long as the real things! Still reading up on how to incorporate fog, lights, and sound, so until I'm comfortable with knowing how all of these work together this will be another project I probably only day dream about making!
This is bare bones and I wish I would have spent some more time aging the outside or adding strips to mimic metal edging and pop rivets, but I can always set this aside to be "detailed" later :) It's missing some pearls and more rubies, but I'm sure I can pick some up at a garage sale for fairly cheap to give it more depth. It has a false bottom, so it looks fuller than it really is.
The barrel off to the left is one of the first props I've purchased from a fellow haunter instead of making it myself and I'm glad I did! The detail on the barrel is AMAZING! Painting alone must have been a pain in the *ss! The detail on the sea corpsed barrel is mind boggling! Check out Bobzilla's page here!
The barnacle sheet can be used to cut up and add details to objects and I'm really wishing I purchased some more at the moment! Bobzilla also has seaweed which is next on the buy list! I haven't stepped into the realm of molding yet and although I would like to be making these detail filler props myself I can't pass up helping a fellow haunter and the craftsmanship that went into making said props is fantastic.
Now I have a monumental task of finishing some tombstones for the graveyard AND hopefully starting on working on my CANNONS! I'm thinking of using my Grandpa's lathe to my advantage and making the cannon out of wood as well as the base. I want these babies to last almost as long as the real things! Still reading up on how to incorporate fog, lights, and sound, so until I'm comfortable with knowing how all of these work together this will be another project I probably only day dream about making!
Labels:
Pirate
Saturday, May 7, 2011
Cursed Jack Sparrow
I've been working on finishing up my Helmsman as of late and I decided to get a Jack Sparrow costume for the threads! I was going to rip up some old clothes and make the clothes look really ratty, but I figured I'd order a cheap Pirate costume and do the same thing to it instead! I've yet to stain the bucky, or the clothes, but I plan on doing so! I still need to work on the mustache because it is bothering me!!
Skull is using a Scary Terry designed servo and the Helm and Wheel were made by yours truly :) The wheel is turning using a monster guts wiper motor and power pack to control the speed! I currently have a picoVOLT coming in that will record a two minute routine that will make the movement not so monotonous!
I like everything about the project thus far, but I'm kinda disappointed over the quality of the costume. I was going to be really cheap and just by the bare bones Sparrow costume, but instead opted for the "Prestige" Jack Sparrow costume and it is pretty cheap! I'm not going to feel bad about aging it and cutting some holes, but for the price I'd never buy it again! It was manufactured by a company called Disguise.
I plan on making a treasure chest, some signs, and hopefully my next major project will be a couple of cannons that light up, make noise, and shoot fog all manually :)
Labels:
Pirate
Friday, April 15, 2011
Argghhh, Avast ya bloomin' cockroaches!
Just got back from an awesome trip to Disneyland for my birthday, and that's when I realized I have made very few Pirate related props! If there is one thing I like almost as much as Halloween, it's Pirates! Since I was a kid, Pirates of the Caribbean at Disneyland has been the coolest ride, ever, and a ton of inspiration. I am torn between Haunted Mansion and Pirates of the Caribbean to which one is my favorite, but I'd have to say Pirates because usually after the first rain you get a whiff of what I call Caribbean scent! I wish I could bottle the smell of the chlorine, fog, and water that emanates from the main doors of the Pirates facade! I love it, and I love it even more when I get transported to the days of blundering pirates when I smell anything close to what the ride smells like! Squabbling aside, I've finished the helm and ships wheel thus far. I plan on aging both, and then attaching a bucky adorned with a Pirate costume. I also picked up two half barrels at Home Depot to make one barrel as seen on http://www.halloweenforum.com/halloween-props/100752-pirate-themed-haunters-43.html by Hirez00!
Still need to add the bucky with scary terry servo and my monster guts controller to slow down the speed of the wheel!
Labels:
Pirate
Tuesday, August 31, 2010
Arrr! X marks the spot, Matey!
I designed a Code of Brethren book to house a bottle of Rum for a teacher I had enjoyed taking several English classes with, and it was a running joke throughout the semester that I was a pirate because of my Pirate of the Caribbean belt buckle! Any kind of project or paper, I'd try and throw in a couple of nautical terms just for laughs. I had been watching Pirates of the Caribean at Worlds End, and I loved the over sized "code" book, so I based my project loosely on that. I always liked the look of the cursed Aztec gold coins, so I cut one out of craft foam using several layers. I also was privy to an awesome tutorial that made this project possible! Creepy old book making, by Dave Lowe! I probably would not have tackled this project without remembering this awesome tutorial! I happened to pickup several fake books from Michaels, so I used that as the framework! I redesigned a Jack Daniels label and put a bottle inside the book because that happened to be my instructors drink of choice! The book also played music when it opened!
Here is a video of the finished book and part of my Final project.
I also decided to add a little soundtrack to my Scary Terry bucky! Yo Ho Yo Ho! =)
Labels:
Pirate
Subscribe to:
Posts (Atom)